Create your own designer jewelry
DIT MANUAL for Jewelry making KIt Box - get the supreme DIY experience!
 Time: 30min |
  Level: Beginners |
  Tools: Included
In this kit, you will find all the necessary components & tools to create a perfect jewelry piece with a powerful presence.
Bring your every design to life with intuitive and enjoyable techniques for DIY accessories, no different than professional jewelry designers.
Nothing in this creation process requires prior skills or knowledge.
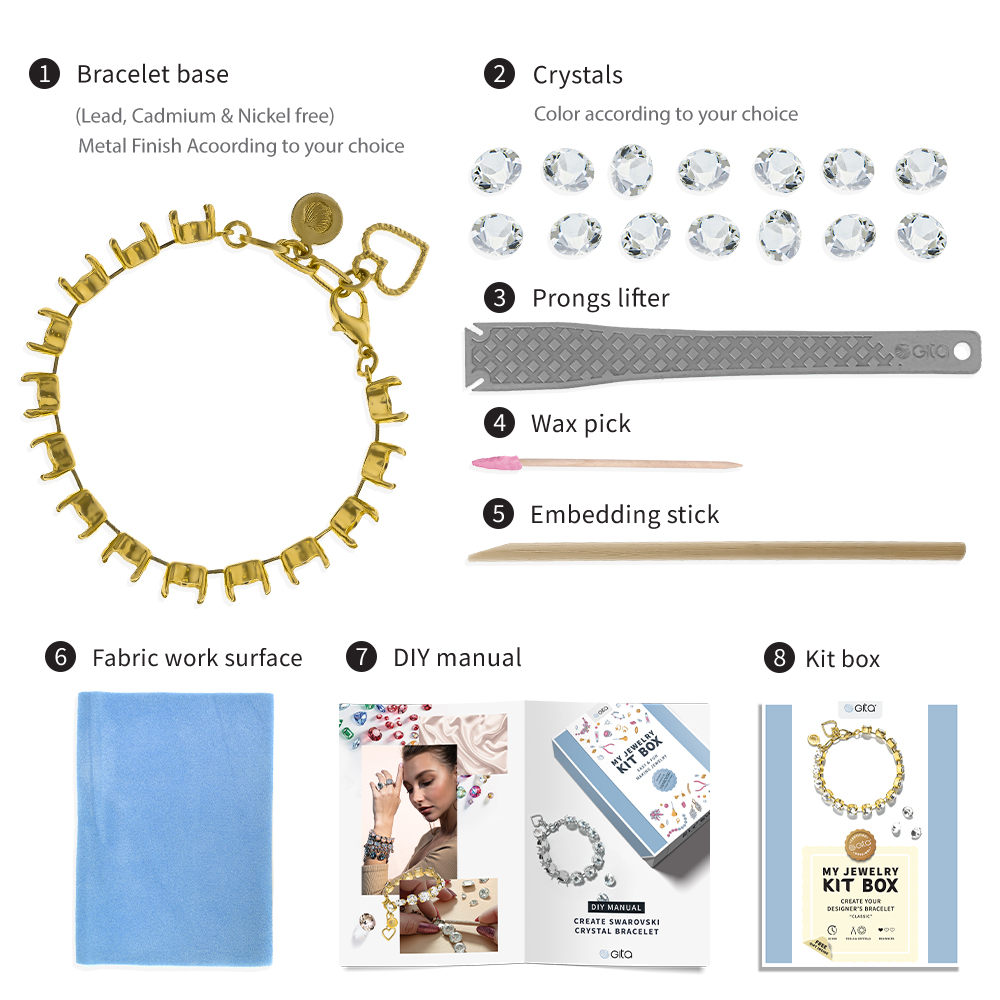
Kit Box Contains:
1. Bracelet base
2. Crystals
3. Prongs lifter
4. Wooden stick for embedding
5. DIY Box
6. DIY Manual
7. Fabric work surface

STEP BY STEP
|

|
Put all the ingredients in front of you on a comfortable working surface.
you can use the fabric that is included in this package
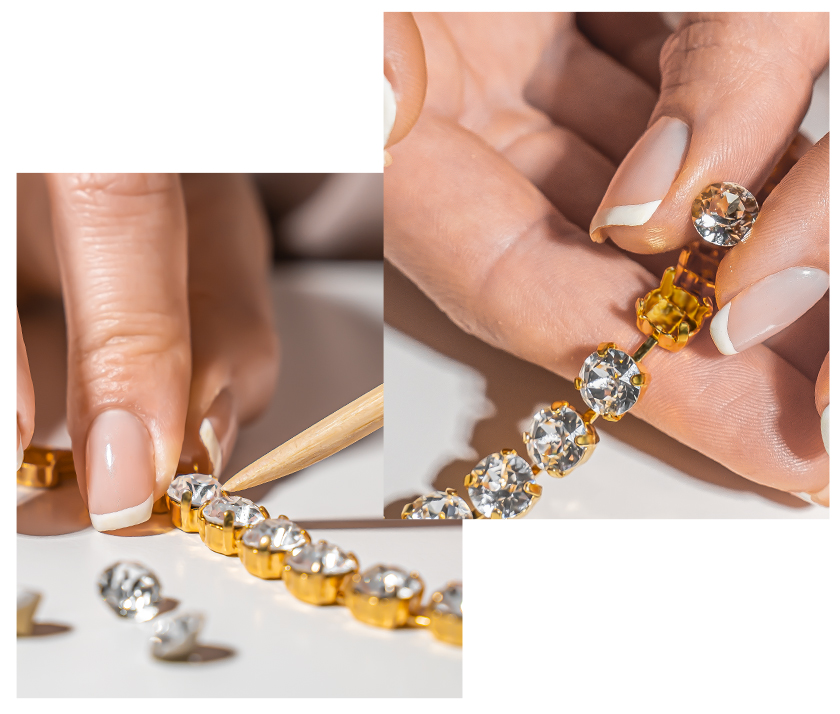
Hold the Bracelet base (1) with one hand and insert one of the crystals into it’s dedicated setting supporting the crystal with your finger.
Place all of the kit parts on a clean working surface
you can use the fabric that is included in this package.
Hold the Bracelet base (1) with one hand and insert one of the crystals into it’s dedicated setting supporting the crystal with your finger.
|
.png) |
Using the wooden Embedding stick (4) in your other hand bend the prongs over the crystal until it securely holds. Repeat step 1 and 2 until all crystals are placed.
Note: If you notice that a crystal doesn't sit straight inside of its setting, use the prong lifter (3) to lift prongs a little, adjust the crystal and close the prongs again.
|
Your new Bracelet is ready! Great work!
*This manual is relevant to all sizes and shapes of the basic bracelets.

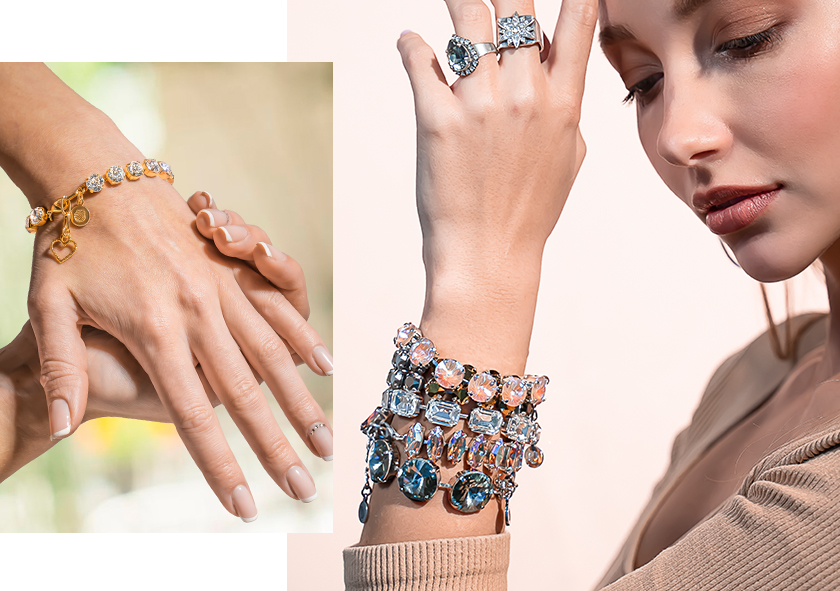
DIY Kit are presented in variety of shapes (29ss/39ss/12mm Rivoli/ Navette/ Mix shapes and more), and color combinations of Crystals.
3 most popular plating colors: Antique Silver, Nickel, Yellow Gold

This product is produced and packed at Cup Chain’s manufacturing in Israel.
We are using only high-quality products including Genuine Crystals and quality Brass metal.
Keep away from children. Small parts may present a choking hazard.

Have fun creating!