To get the most of the effect of these crystal rocks, it is best to make them next or on top of jewelry elements that have a lot of metal surface, because they flatter each other, looking more special and sparkly like that.
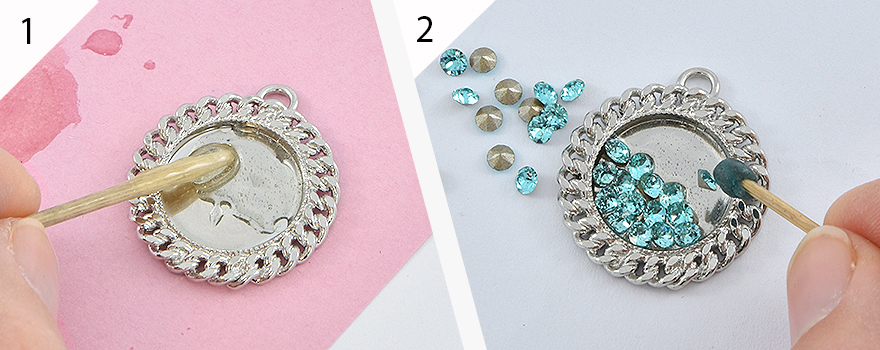
Here you can see how simple it is to make on flat or even concave surfaces, and some ideas how to you use this kind of work.
As you can see the size of the crystals you use makes the final look slightly different, here you see 3 sizes of Swarovski crystals: 18pp - 2.5mm, 24pp - 3mm and 32pp - 4mm.
2 simple steps you need to do:
1. Spread the E6000 SW glue for crystals to cover all the surface of the element you want to glue the crystals on
2. Take each crystal at a time, so make sure it is facing up, and place it in the glue covering all the surface with crowded crystals, now let it dray for about 12 hours or more

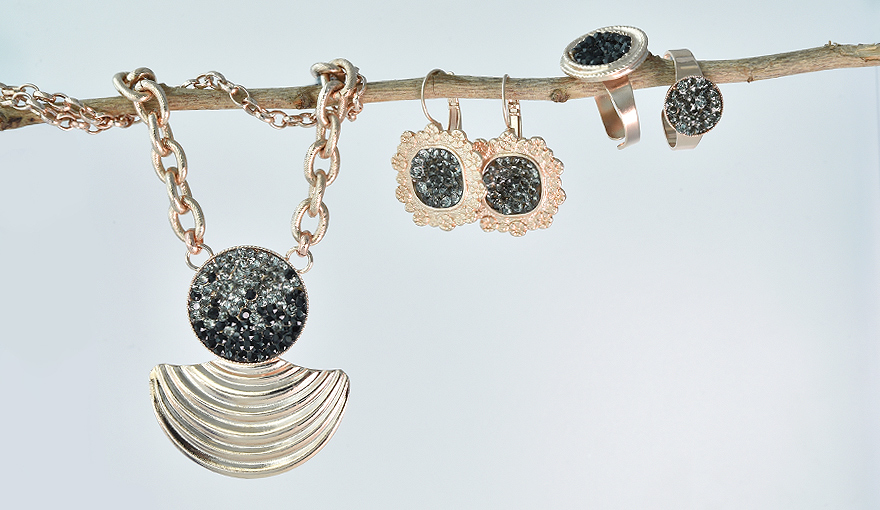
18pp Black &Gray crystal rock
Black and gray on a rose gold plated jewelry bases always comes out looking so nice, so here I glued small Swarovski 18pp crystals on rings and earrings and you can also make a pattern or a letter, a heart shape in the middle of a pendant like that or any other shape you like.

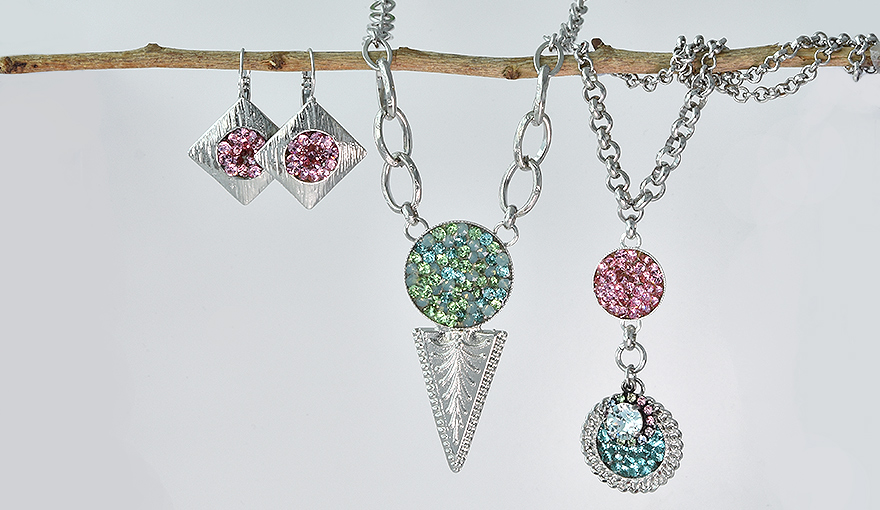
24pp colorful crystal rock
The best thing about making your own crystal rock is that you can make it to any shape, color, size or pattern you like, another way is to mix between colors so you can make a really colorful looking pedant as you see right here.

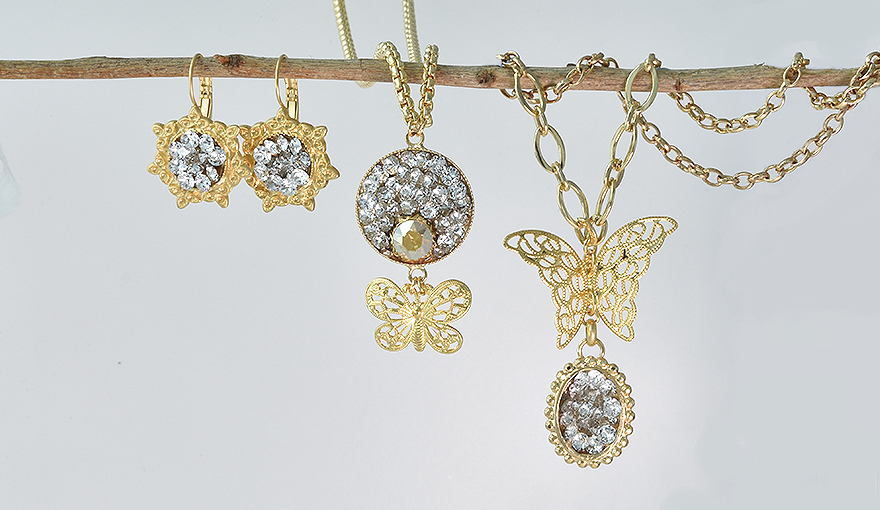
32pp Clear crystal rock
These yellow gold plated with Swarovski 32pp clear crystal items show you that even if you make items with a basic combination like this it looks much more sparkly, and special than it would have been made with the regular large oval or 12mm Rivoli crystals inside these stone settings.
When you have a big flat surface like in this pendant you can also glue an embedding element with a larger crystal in it just to make it a bit more interesting.

Have fun using this great way for making your own style crystal rock, good luck!
Cup Chain team.